Rough or Refined, Vermicast Delivers
What do you do with the vermicast after you harvest your worm bin? In this video Mindy gives practical advise on how to handle vermicast once you have some available.

Welcome to the Worm Ohana video library, where we guide you in your vermicomposting journey, starting from worm bin set up to vermicast harvest.
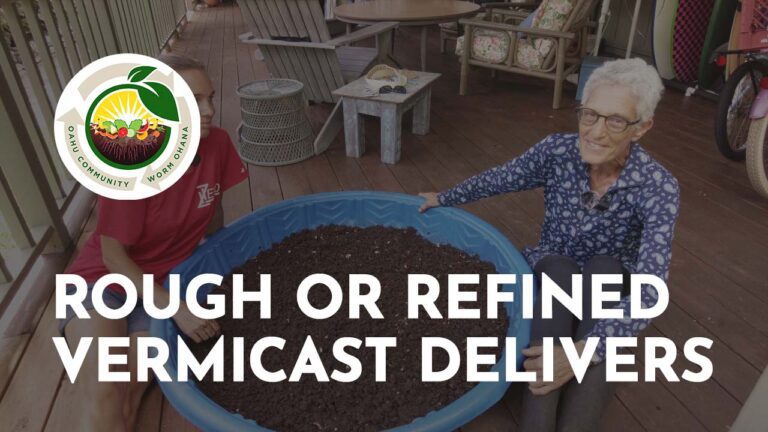
What do you do with the vermicast after you harvest your worm bin? In this video Mindy gives practical advise on how to handle vermicast once you have some available.
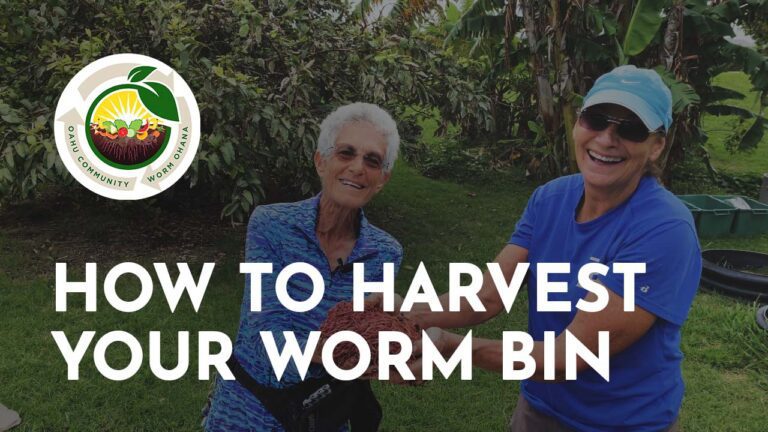
And once you determine that you are ready to harvest your worm bin, watch the video below to see how harvesting is done.
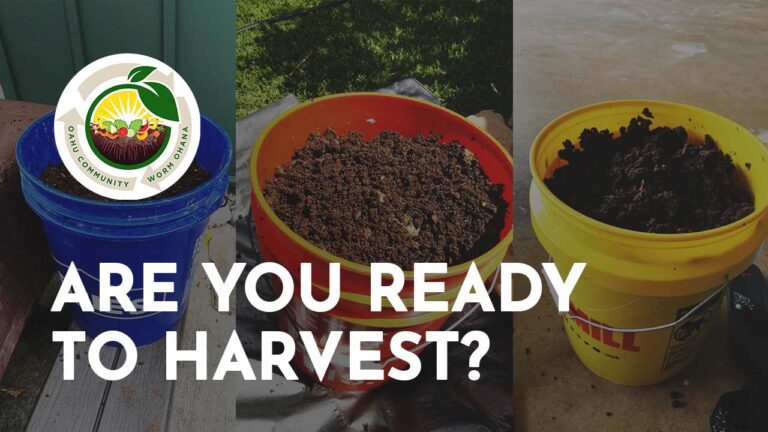
Do you think your vermicast is ready to harvest? Watch the video to find out how Mindy digs in the worm bin to determine how much cast has been produced and how much of the original bedding are still present. And once you determine that you are ready to harvest your worm bin, watch the…
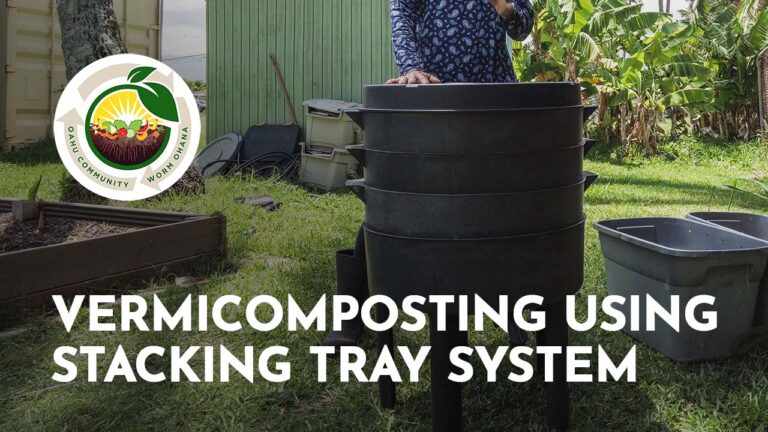
Do you have a stacking tray system aka “Can-o-Worms” but can’t seem to work it properly? Watch the video to find out how Mindy operates a stacking tray system to produce vermicast efficiently while minimizing the disturbance to your wormies.

The Worm Ohana visited one of our veteran vermicomposter, Betsy Dyer, who uses a stacking tray system as well as the lateral flow system. Watch the video to see her vermicomposting operation and to learn how she manages her family’s food waste stream by using worms.
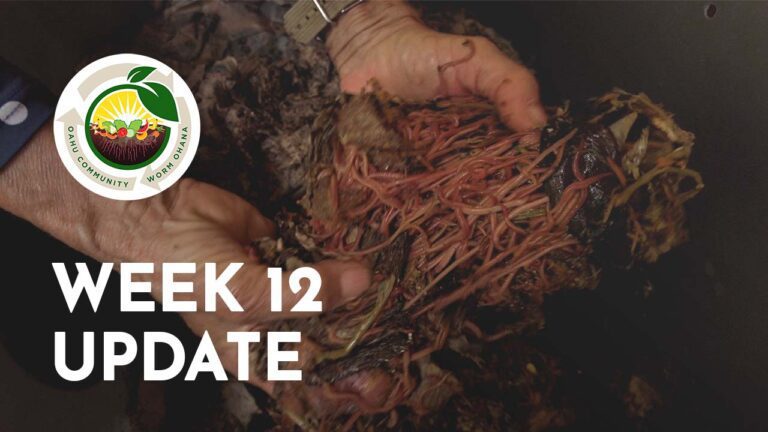
The worm bin ecosystem takes about three months to get established. Watch the video to see what a developed worm colony looks like.
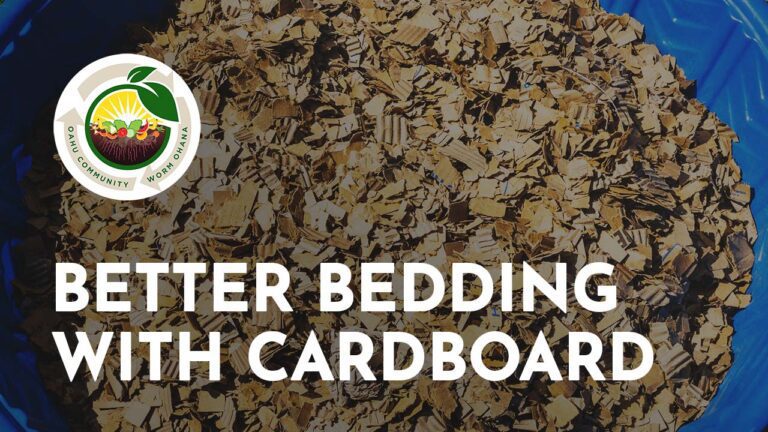
Recycle and repurpose cardboard boxes into worm bin bedding. Watch the video for step-by-step instructions on how to prepare and tear up cardboard boxes to be used as bedding.
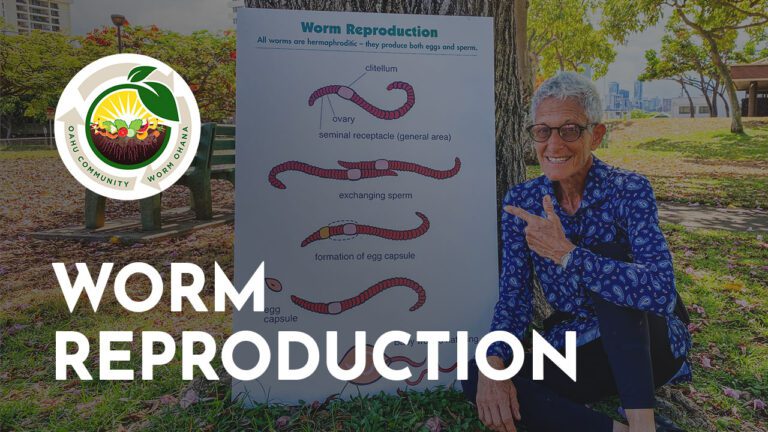
Curious about how worms make babies? Mindy explains the mechanics behind worm reproduction.
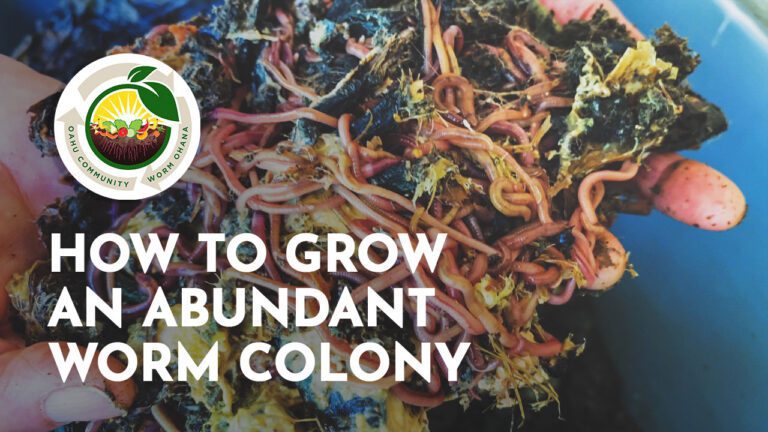
It’s no secret that the best way to grow your worm colony is by feeding them. Watch the video for details as Mindy shows you what a robust bin looks like filled with lots of worms processing your kitchen and food scraps.
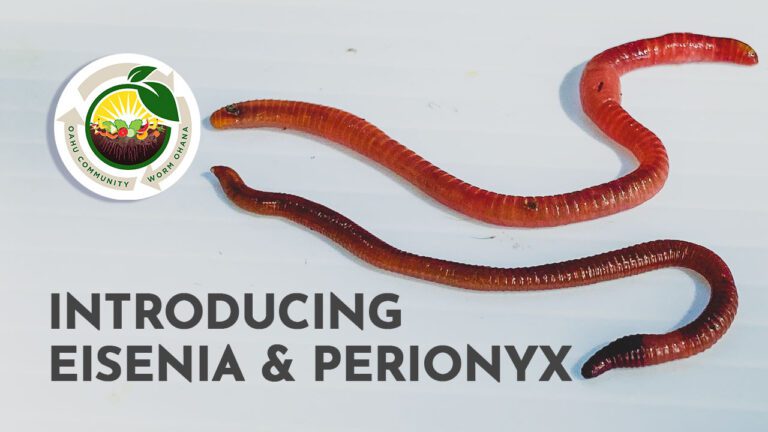
Out of thousands of terrestrial worm species today, the two that do the work in our composting bins are Eisenia fetida and Perionyx excavatus. These worms live in dense colonies and process decaying organic matter of all kinds. In nature, both Eisenia and Perionyx feed on animal manure. We cultivate them in bins to eat…
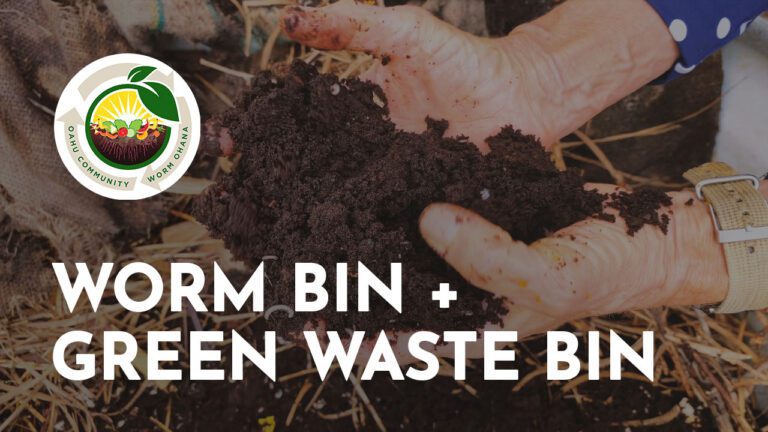
Now that you have been vermicomposting for a few weeks, you know that you can’t feed everything to your worms. If you have a yard, please consider composting your green waste as well. Green waste composting is an excellent complement to vermicomposting. Watch the video to see how much more resources you can divert from…
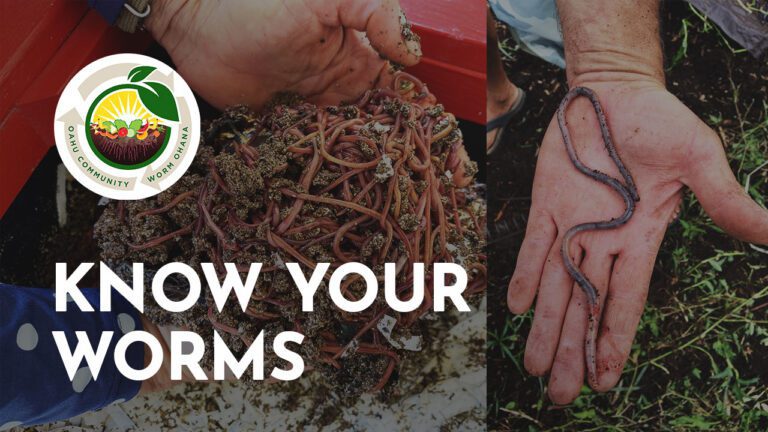
Most of us are familiar with the earthworms. However, the worms in our vermicomposting bins are not of the same type. Composting worms do not belong in the garden. They will not survive for very long. Keep them in your worm bin. Watch the video for more information.
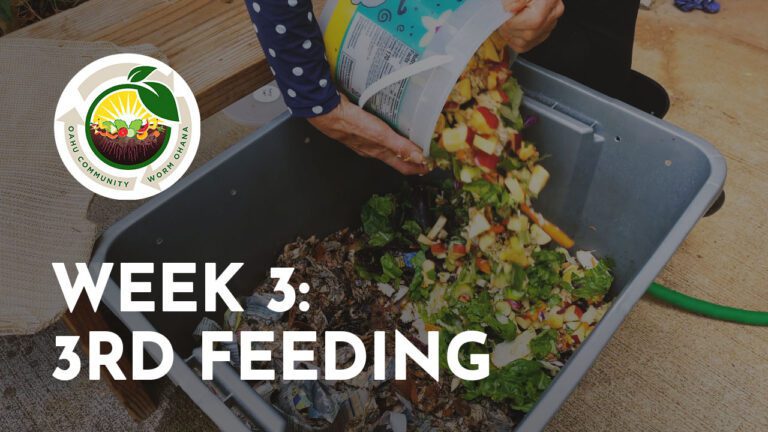
Our second feeding had very dense food like raw eggplant and carrots. As expected, they are still decomposing, and the worms have not quite touched them. However, when we look at the first feeding side of the bin, the food is mostly gone! This is a good sign that the wormies are actively feeding. Now…
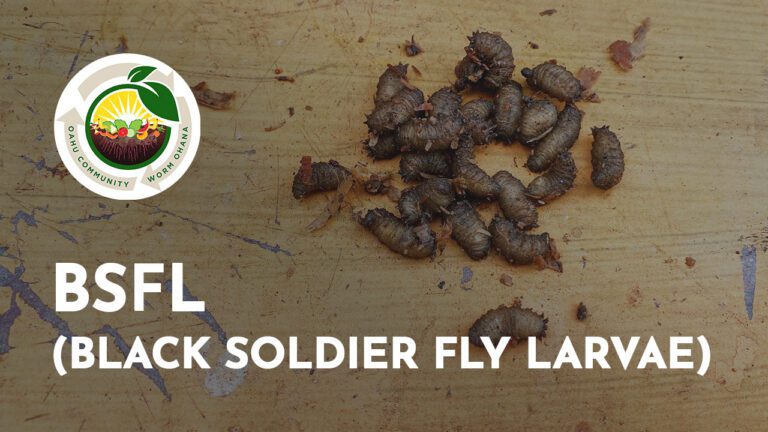
Love them or hate them, you will eventually find BSFL or black soldier fly larvae in your worm bin. Despite their gross and icky reputation, these grubs have potential benefits and do not pose a threat to your worms. They are the rock stars of decomposition.
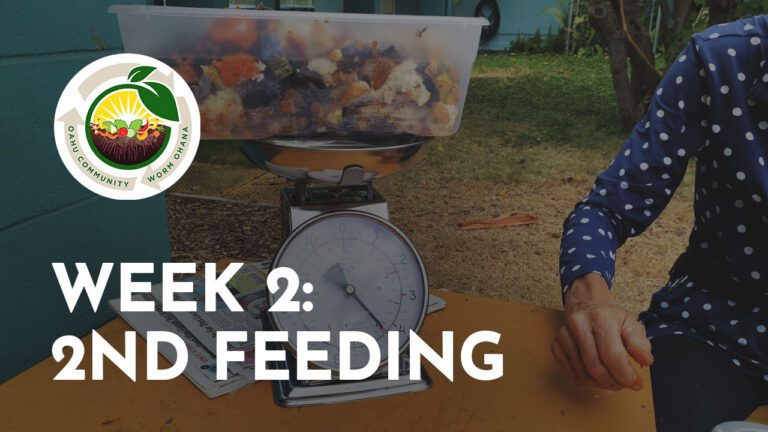
We can’t see the wormies, but we can tell that they are active because the food waste we gave them on the first feeding has partly disappeared! Now we feed on the other side of the bin. Remember to push aside the paper layer before adding the food.